Ever had one of those moments where you’re trying to remember where you were on a certain day or just curious about how much you’ve been moving around? You’re not alone! Figuring out how to check location history on iPhone can come in handy, whether you’re retracing your steps or just feeling curious about your past routes. The good news? It’s super easy to do, whether you’re using built-in iPhone features or third-party apps. Let’s dive into some of the options together.
Check Location History on iPhone with Significant Locations
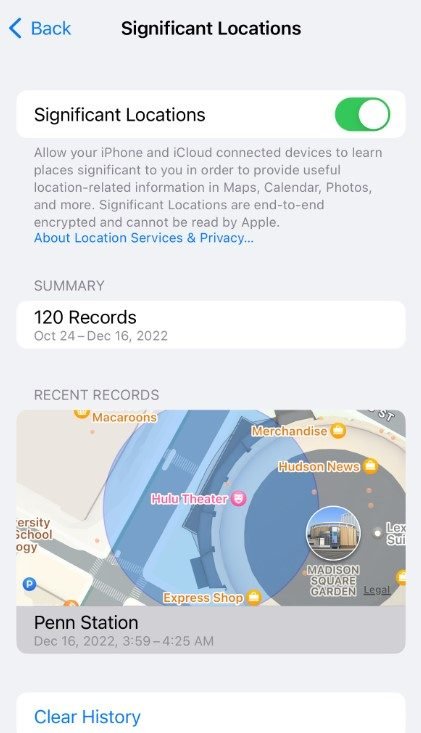
The first and probably most hidden tool is your iPhone’s Significant Locations feature. Apple quietly tracks the places you visit the most, so it can provide you with useful location-based services like traffic predictions or route suggestions. While it’s a little buried in the settings, it’s pretty simple to access once you know where to look.
How to Access Significant Locations:
Step 1. Open up your Settings app.
Step 2. Scroll down and tap on Privacy & Security.
Step 3. Under this menu, tap on Location Services.
Step 4. At the very bottom, you’ll find System Services.
Step 5. Here it is! You’ll need to authenticate with Face ID or your passcode to get in.
Step 6. You’ll see a list of locations you’ve visited, complete with dates and even how many times you’ve been there.
Step 7 (Optional). If you want to erase it all, just scroll to the bottom and hit Clear History.
It’s worth noting that this information stays on your device and isn’t shared with anyone else—so you’re in control here.
Check Location History on iPhone Using Google Maps
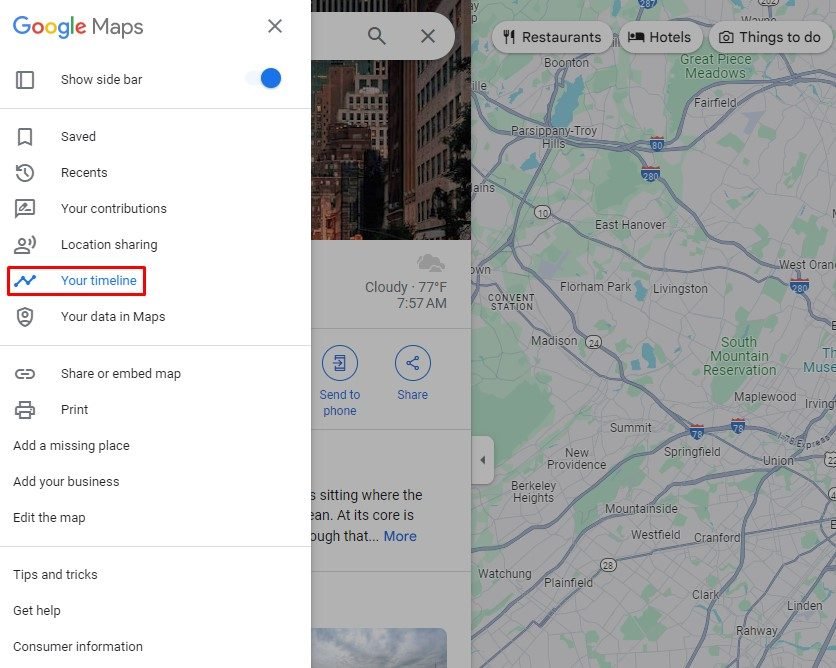
If you’re more of a Google Maps user, their Timeline feature is another great way to track where you’ve been. What’s nice about Google Maps is it gives you detailed routes and stops, showing exactly where you traveled and when. I find it particularly helpful for visualizing my trips.
How to Check Location History with Google Maps:
Step 1. Launch the Google Maps app.
Step 2. Tap your profile picture (top-right) and select Your Timeline.
Step 3. If it’s not already enabled, follow the prompts to turn it on.
Step 4. In the Timeline, you’ll see a map that shows where you’ve been recently. You can pick specific dates using the calendar at the top.
Step 5. Tap on any trip to see more information about your stops, including timestamps and route information.
Step 6 (Optional). If you’d rather not keep all this info, you can delete specific days or even your entire history through the Settings menu in your Timeline.
Google Maps is perfect if you like having a detailed log of your movements, especially if you’re someone who travels a lot or likes to keep track of their routes.
Check Location History on iPhone Using the Find My App
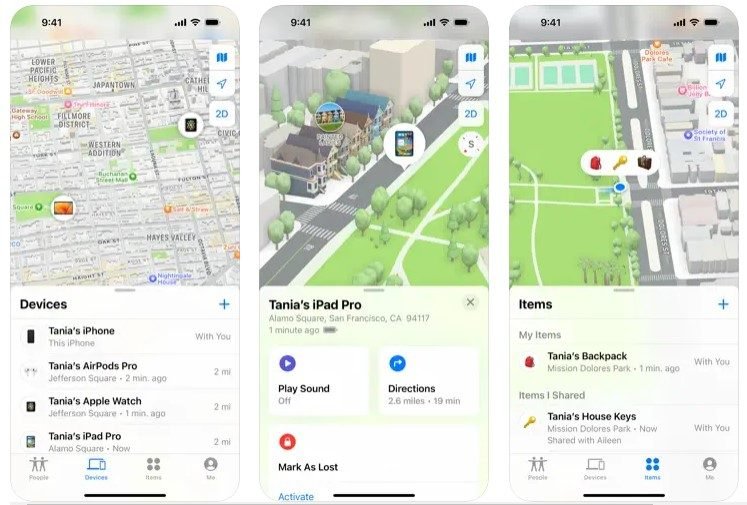
You’re probably already familiar with the Find My app for finding lost devices, but did you know it can also give you a look at your recent locations? If you’ve got multiple Apple devices, this is especially useful since you can check their locations, too.
How to Use Find My for Location History:
Step 1. Go to Settings on your iPhone.
Step 2. Tap your name at the top to open your Apple ID settings.
Step 3. Look for Find My and tap it.
Step 4. Make sure the Find My iPhone feature is switched on.
Step 5. Now open the Find My app and check out the Devices tab. You’ll see a list of your Apple devices and their most recent locations.
Step 6. If you share your location with family or friends, their recent locations will also show up here, which is handy for checking up on loved ones.
Find My is more basic when it comes to tracking, but it’s a solid option if you’re keeping tabs on your devices or shared locations.
Check Your Loved One’s iPhone Location History with FamiSpy
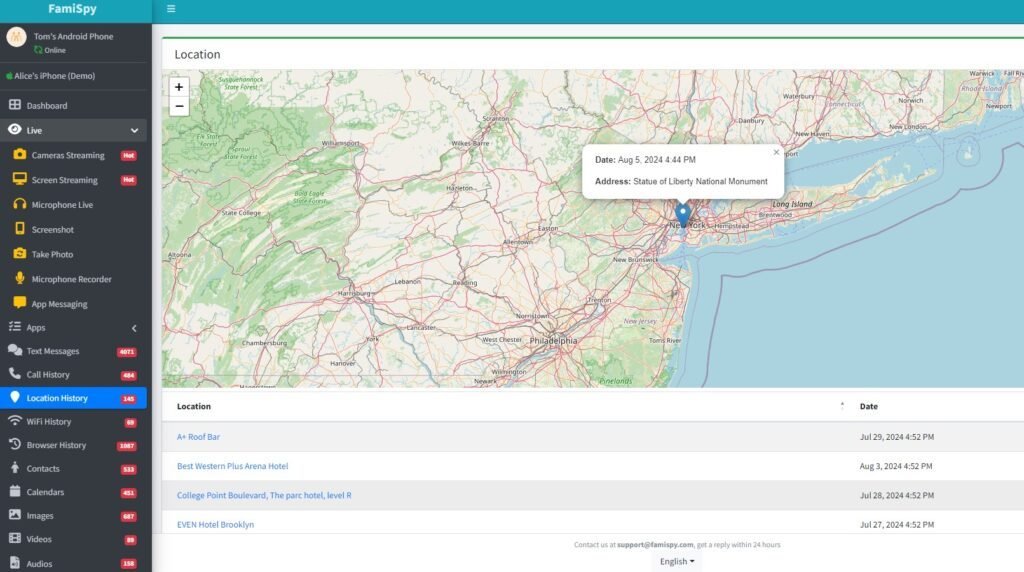
Now, if you’re after more detailed tracking, especially for things like parental control or keeping tabs on someone else’s device, a third-party app like FamiSpy can be really useful. I’ve found it’s a bit more involved to set up, but once it’s running, it gives you detailed location logs, complete with routes, and timestamps.

How to Set Up FamiSpy:
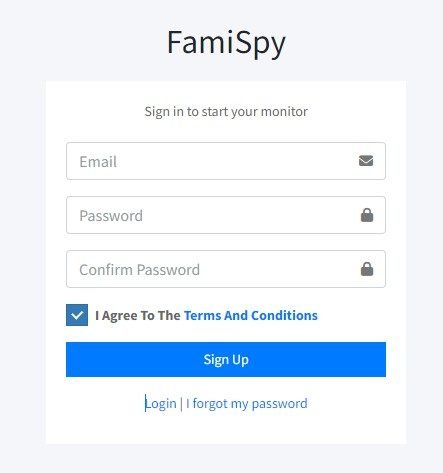
Step 1. Visit the FamiSpy official site, and sign up with your email and password.
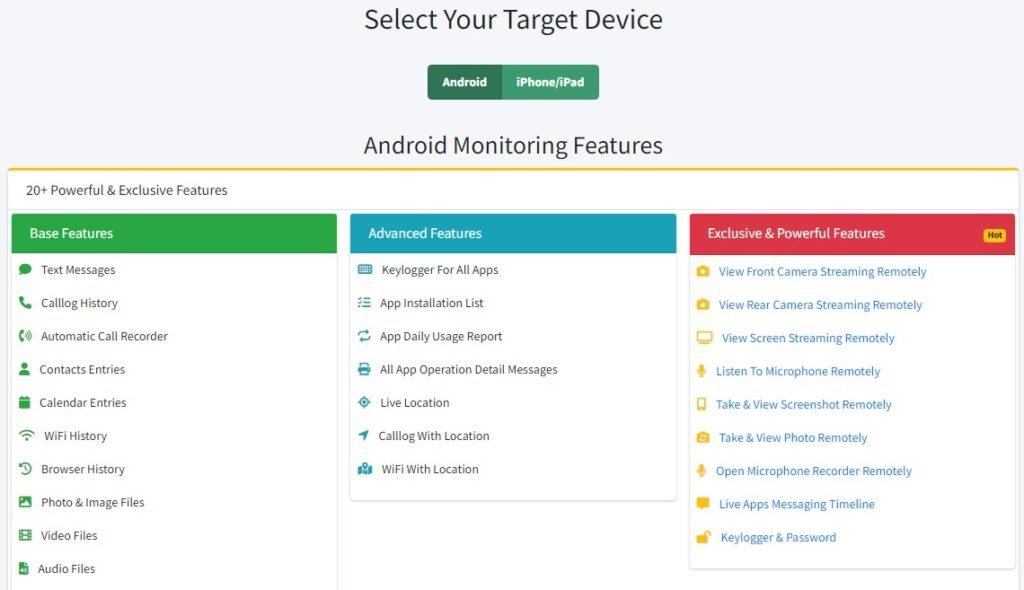
Step 2. Follow the setup instructions to link the device you want to track (whether it’s your own or someone else’s).
Step 3. Once it’s set up, log in to your FamiSpy account to view detailed location history, including routes, stops, and timestamps.
FamiSpy is great if you need a more robust tool for tracking, especially for family use, or if you need detailed logs of movements.
How to Enable Location Services on Your iPhone
Before any of this works, you’ve got to make sure Location Services are enabled. It’s something we often forget, but without it, none of these features will function properly.
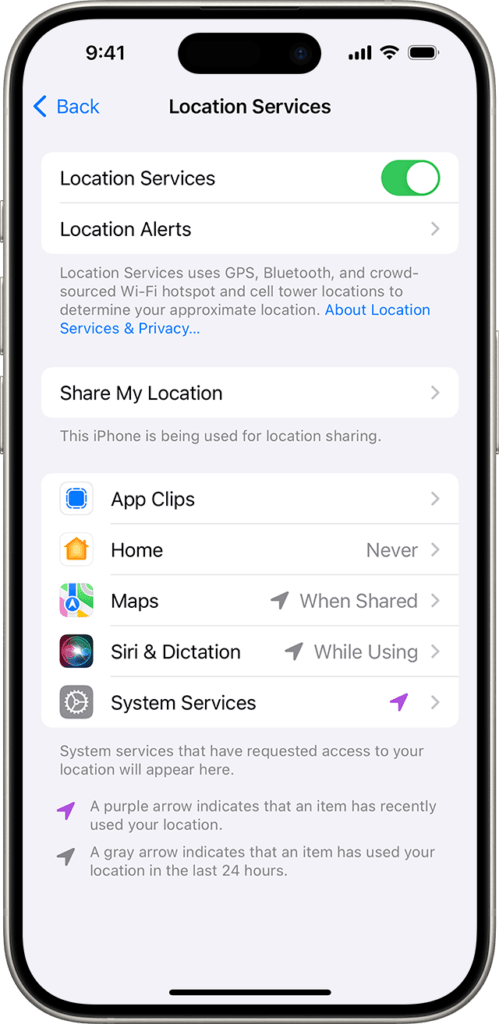
How to Enable Location Services:
Step 1. Go to Settings on your iPhone.
Step 2. Scroll down and tap on Privacy & Security.
Step 3. Right at the top, you’ll see Location Services—tap on it.
Step 4. Make sure the toggle switch is set to On.
Step 5. Scroll down to see a list of apps using your location. You can choose to allow them to access your location Always, While Using the App, or Never.
Step 6 (Optional). For apps like maps, you might want to turn on Precise Location so they can pinpoint exactly where you are.
This ensures everything runs smoothly, and you can also customize which apps have access to your location to protect your privacy.
Managing Privacy and Location History
Speaking of privacy, with all this location tracking, it’s good to know how to manage or clear your history if you ever feel uncomfortable. Apple and Google give you control over your data, so you can keep things as private as you want.
To clear your history in Significant Locations, go to Settings, find Privacy & Security, then Location Services, and tap Clear History under System Services.
For Google Maps, open Your Timeline, tap the menu, and head to Settings to delete trips or clear everything.
To control app-specific tracking, go to Location Services in Privacy & Security and adjust permissions for individual apps.
Apple’s privacy policies are transparent—tap Learn More in Location Services to read more.
FAQs
Does the iPhone store my location data indefinitely?
No, your iPhone doesn’t store your location history indefinitely. Apple keeps data in Significant Locations for a limited time, though you can manually clear this data. Google Maps stores location data until you delete it or set it to auto-delete after a certain period.
Can I check the location history without enabling location services?
No, Location Services must be enabled for your iPhone or Google Maps to log location history. Without this, your device cannot record or track your location data.
Is it possible to track someone else’s iPhone location history?
Yes, but only with consent. Apps like FamiSpy offer parental controls to track someone’s location, but using these tools ethically and within legal boundaries is crucial.
Can I see the past location history for a lost iPhone?
Yes, using Find My iPhone, you can check the last known location of your lost device if Find My was enabled before losing it. You’ll see a map of where your phone was last active.
Conclusion
Tracking your location history on an iPhone isn’t as complicated as it might seem. Whether you’re using Significant Locations, Google Maps, Find My, or an app like FamiSpy, you’ve got plenty of options to see where you’ve been. Just remember to manage your settings so you’re comfortable with how much data you’re sharing. Happy tracking!
*Don’t Miss:

